Our retiring products are listed HERE.

The products that will carry over to our new catalog are listed HERE.


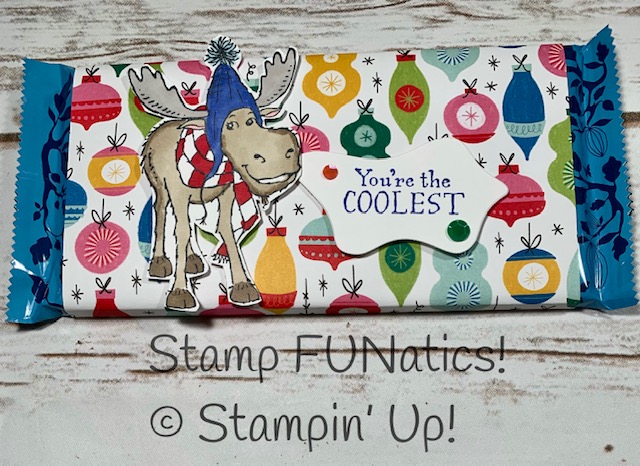
Now that all the pumpkins are put away and our Christmas decorations are coming out, it’s time for a stocking stuffer. I had some chocolate bars left over from Halloween and decided to use up some of my Designer paper and wrap the bars and decorate them for a stocking stuffer. Our designer paper is not just for staming, but makes great wrapping paper for treats and gifts.
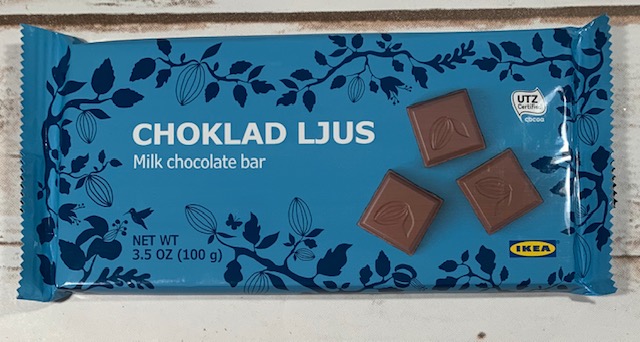
I get these delicious bars at Ikea. They have only gone up in price to $1.29 and are so creamy and good.
For Instructions & Suppplies ..
[Read more…] about Candy Bar With All Bundled Up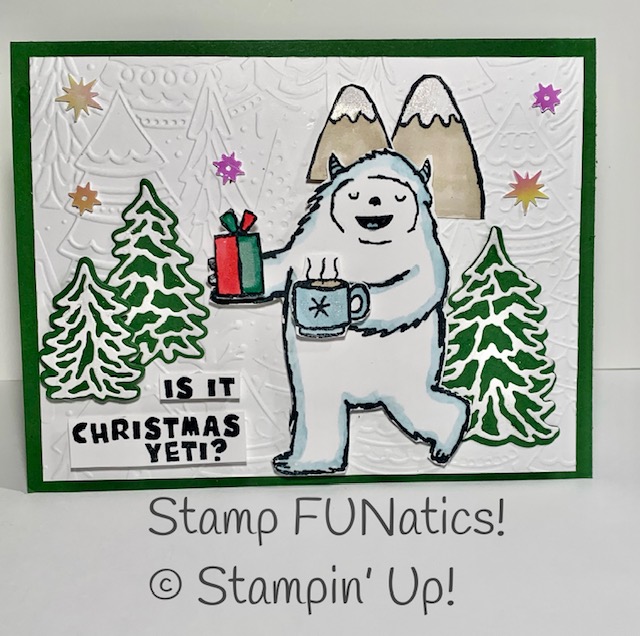
I made a birthday card for a friend using this set and his wife asked, “What was a yeti?” She only knew it as a cooler. I explained he was an abominable snowman. A/K/A Yeti.
The Yeti to Party set, #159826, comes with cute accessories. There are snowflake stamps, a cup of cocoa, or coffee, ice cream cone, a Christmas tree, presents, a bird and a banner. There are also a couple mountain tops to add background to your card. The sayings cover several occassions. You can use it for birthday, Christmas, Holiday Hugs and Winter Wishes. You can also mix it with some of you other stamp sets and make your sentiments stretch even further. For Instructions & Supplies List read more..
[Read more…] about Yeti Christmas Card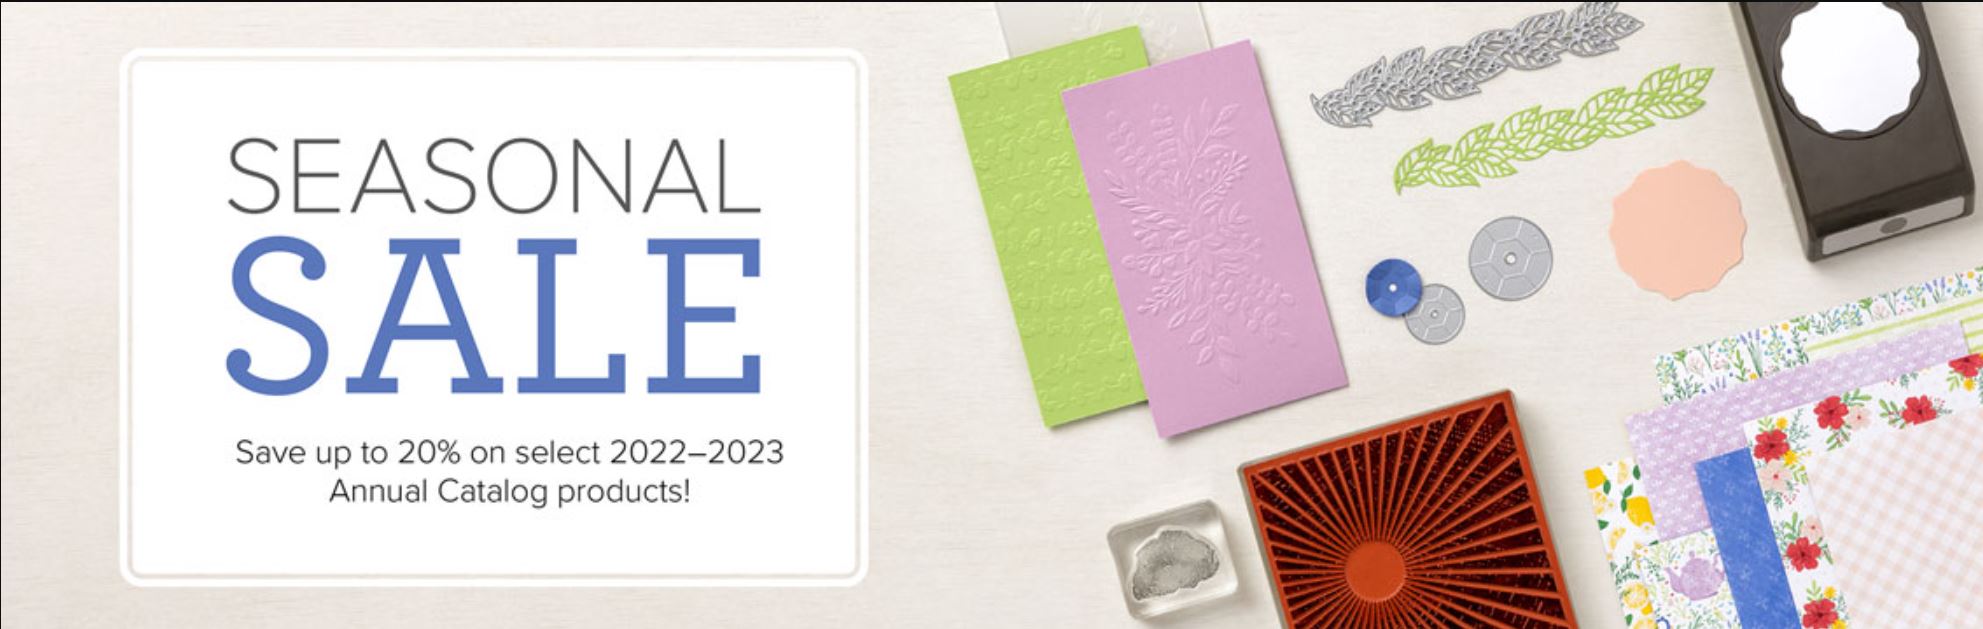
Stampin’ Up! has hosted many types of Seasonal Sales over the years – none is more exciting than this one. Between November 15 and 18, 2022, select products from the 2022–2023 Annual Catalog will be on sale with the following discounts:
Create more by spending less during the Seasonal Sale! With the season of giving upon us, this is a great opportunity to buy gifts for your fellow crafting enthusiasts or to stock up on supplies for all your upcoming handmade projects. Remember, this sale is for four days only! Don’t miss out!
Perhaps you’d like to print a list of all the sale items (might be easier for you to identify the products you don’t have)? While all of the sales categories are showcased above, here’s a comprehensive list of the Seasonal Sale products: Click Here
As with any sale, the Seasonal Sale offers discounts while supplies last. If products sell out during the sale, they will be turned off in the system. I suspect there will be lots of orders this week, so I suggest ordering early or adding one-day or two-day shipping. Spend a little time with this list today and tomorrow so you are ready to place your order on Tuesday.
Timeless Greeting Kit – 161062 available starting Nov 15th, 2022

Last week I showed you a cute treat box. Well I had another thought and saw my Envelope Treat boxes and wanted to share the same idea as last week that can be put together even faster.
I put together this video for you to show you how I put the box together and the measurements of the stamped image. I really like the Envelope Treat boxes. You get 10 boxes with 20 stickers. They can hold a gift card or small gift. Of course treats are good too.
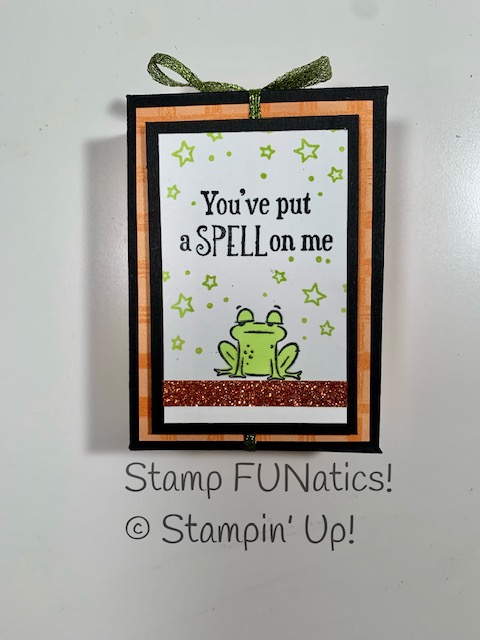
I have a cute fast and easy treat box for you. Just some cardstock, designer paper and a cute stamp set called Best Witches. I chose to use the adorable frog for my box. It was quick and easy to stamp the front of the box and add a little sparkle with the Glitter Washi 4 pack.
You can always change this to a Thanksgiving treat with nuts or a Christmas gift or treat. Gift Cards will fit too. Read more for Instructions & Supplies.
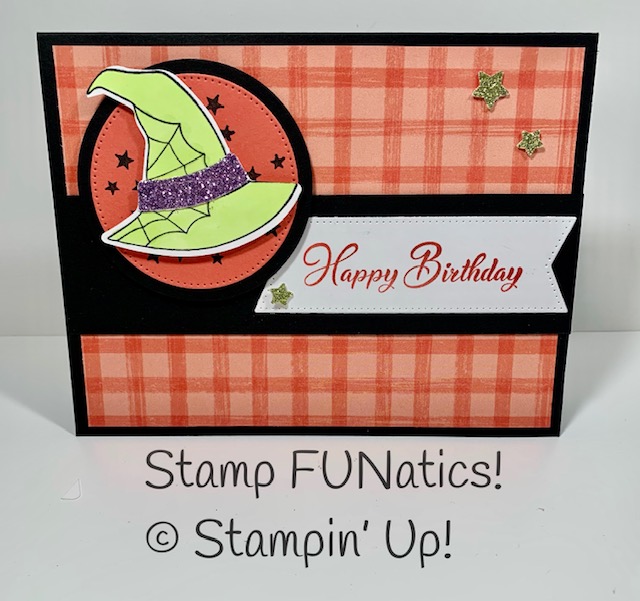
I have alot of October birthdays and decided to make this fun card with a twist on my birthday wishes.
I used the Bewitching bundle, the Best Witches stamp set from the Mini catalog and the Go to Greetings from the Annual Catalog. Don’t miss this great greeting set. The fonts are amazing and comes in three different sizes. They are sure to fit any card.
With FREE SHIPPING today, it’s the perfect time to add it to your collection.

I have three Halloween treat ideas for you using the Best Witches stamp set. Two could be used for gift cards and one for a larger treat.
The box on the left was created by using my Paper Trimmer and the Simply Scored Scoring Tool.
The middle bag was created using the simple Star Treat bags in our Mini catalog and the treat bag on the right was created with the Mini Pocket Envelope in our Annual catalog.
You can make any of these or all three with our tools to make quick and easy treat/gift card bags.
The last two bags can hold a gift card, or a treat. I used the Witches Brew Kit Kat bars as my treat in the two smaller bags. I got them at Walmart.
The Star bag is holding Honey Butter Almonds. I got them in World Market. I’ll post a picture of the candy below.If you would like the pdf’s for all three of these projects, just place a $50- order or more, before tax and shipping in my online store at Stampfunatics.com and use the Host Code 6X32SJZ3. Deadline for orders is Saturday, Oct. 1, 2022. It’s my thank you to you for being a loyal Customer and Crafing Friend.