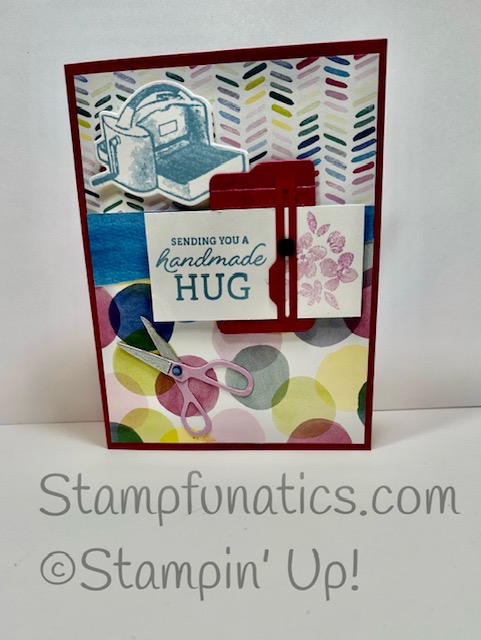
I have a thank you for your order card, I will be sending out to Customers for June orders using Host Code W4JK3AYR.
I am using the Crafting with You bundle #161226. There are so many cute stamps and the dies are amazing? There is a Cutting machine, sewing machine, easel, basket and yarn and flowers. The dies have a trimmer that you can actually put paper through and scissors that you can put together. If you use a brad you can actually have them open and close. You can do the same with your trimmer.
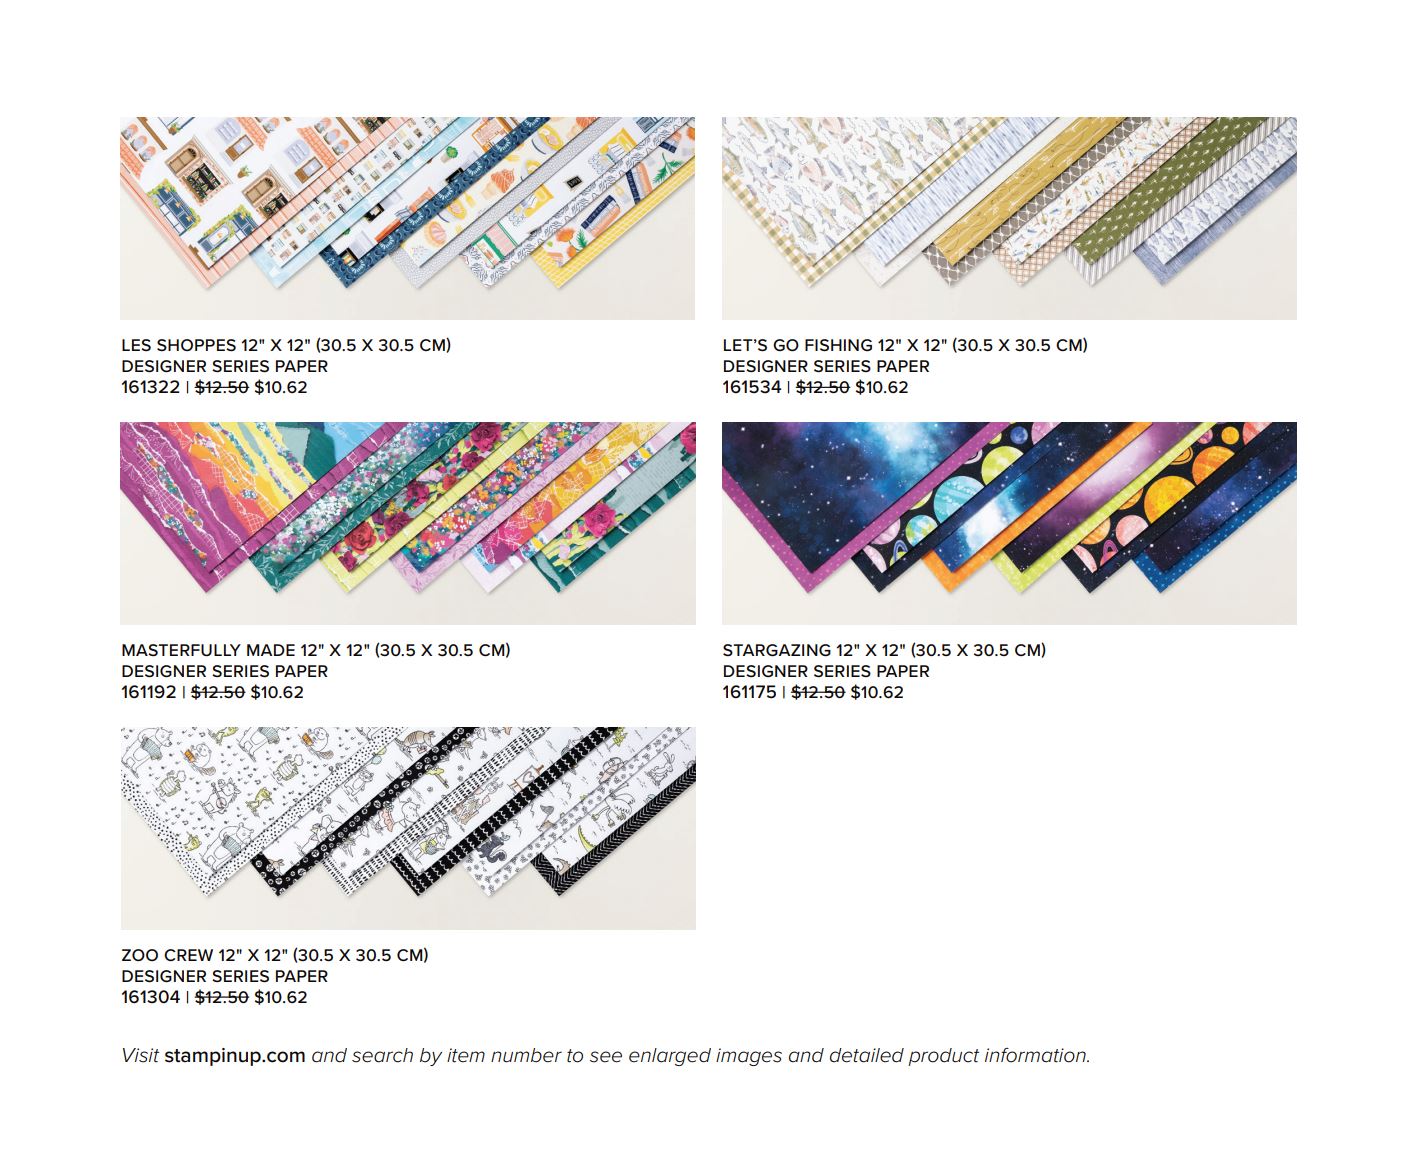
I am using some of the Bright & Beautiful designer paper that is on sale righ now with a 15% savings. You can see the supply list and instructions below…