


Hi Stampers,
I participated in a Swap with some of my Team members. We used products from the new Sept-Dec.2026 catalog.
I made a video for you to show you all the creative ideas from using differenct products.
Harvest Hues Mix & Match Ephemera Pack
I have another video for you today using the Harvest Hues Mix & Match Ephemera Pack #168495.
These packs help make cardmaking a quick and easy process.
I have made four cards for you with different themes. Before I show you, I want to show you the pack.
There is so much goodness in this pack for only $7- It is located on page 69 of our catalog.
Halloween Matchbook Treat Box
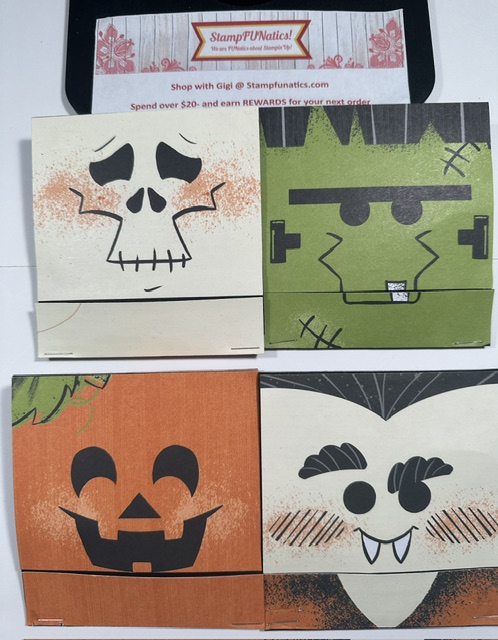
Aren’t these adorable? I love how most of the face from the designer paper is used with very little waste. The one inch I cut off each side, I will use on some cards later.
Here is a video I made, showing you how easy these come together.
Merry Mischief
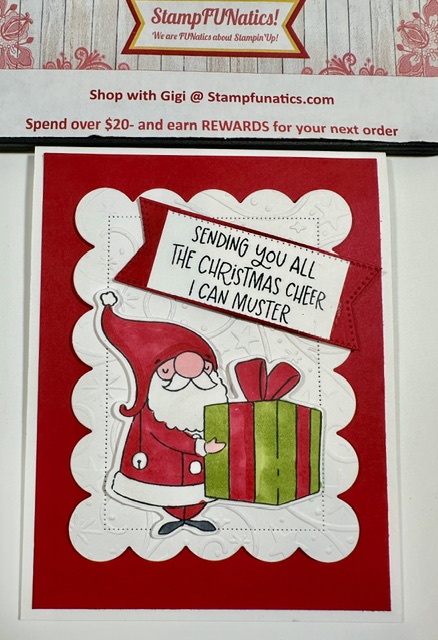
Today I have the bundle called Merry Mischief. I love this cute set! I made a card and cute gift box for you. I hope to put a cookie in mine.
I used the adorable Scalloped Christmas Cheer Dies #168544. I absolutely love these dies. They make your cards so cute! I also embossed the white piece with the Swirls of Magic Embossing folder # 168179. This folder works good for Halloween, Christmas and any celebration.
Flash Sale on our stamps tomorrow Sept. 16-18
Have you been waiting for the perfect opportunity to add the latest stamp sets to your collection? Well, we’ve got some great news! From September 16–18, you can get select stamp sets at 15% off! Grab stamps that have been on your wish list or use this opportunity to explore new stamp styles. Act fast—this stamp-tacular sale only lasts for three days!
• The 15% discount will apply to select stamp sets, which are only available while supplies last. See and shop all qualifying stamp sets in the online store at stampfunatics.com
Spooktacular cards
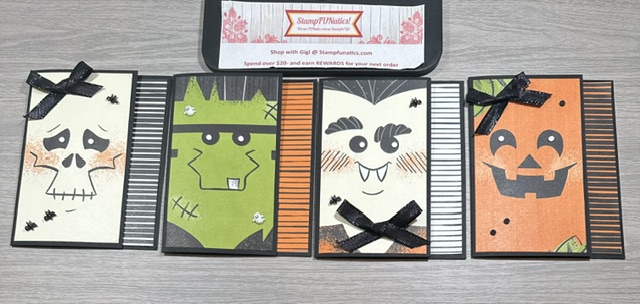
These cards were made with 4 products. I used the Spooktacular Designer Paper #168219, Oh My Fright Stamps #168169,
Adhesive Backed Bats Ghosts & Dots #168180 and Black ribbon #168181.
These cards were so simple to make. Let me show you each one.
A Quick Farewell Card
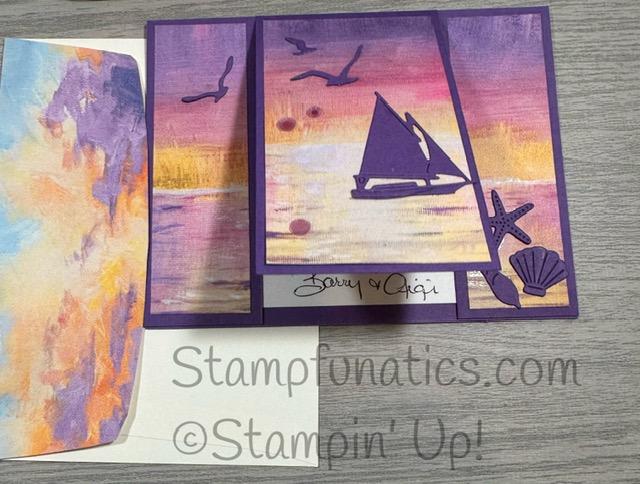
I have friends that will be moving to another state to be closer to their children and are also expecting two grandchildren in the next few months. So I needed a quick farewell cards. I accidently wrote in the card before I took the pictures, so I cut off some of it on purpose. Ooops.
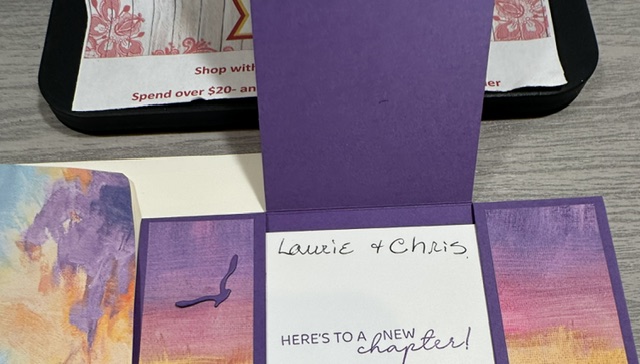
I am using the Sunset Coast dies #16770, to cut out the boat, birds and shells. I am also using the beautiful Scenic Coast designer paper. #167773. This paper is so beautiful. People can’t get over the sheen and colors. They are so pretty.
I am using Gorgeous Grape cardstock for my base. I cut the card 5-1/2″ X 8-1/2″ and scored it at 4-1/4″. Then I took the front and cut each side at 1-1/2″.
I cut the designer paper down to 4″ and cut each side down to 1-1/4″. Glue the design down on the 3 pieces just as you had it, so the design looks consistant.
I used a piece of basic white for the inside measuring 4-1/4″ X 3-3/4″. Stamp the saying in Gorgeous Grape ink and glue it to the inside middle of the card. I glued the two outside pieces to the card, so it had a center flap that opened. Be careful to line up the saying in the middle first.
I used the sentament ” Here’s to a New Chapter! from the Sending Salutations stamps. #167857.
This card is so pretty and easy to make.
I die cut the shapes on the front and added them with glue.
Lastly, I added Purple Adhesive Backed Sequins. These are discontinued, but they have #168198 Adhesive Backed Blooms. Any sequins will do.
This is an easy card, if someone were retiring, moving or starting a new chapter.
Product of the Month – August
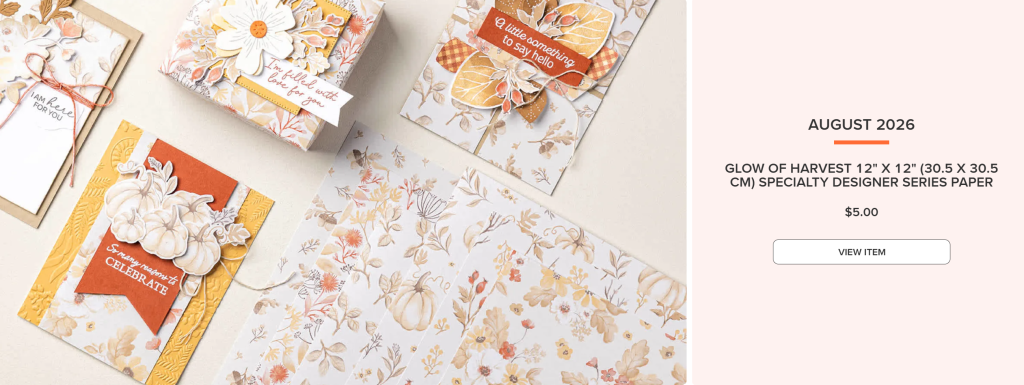
We have a new Product of the Month and it is a beautiful Fall Designer Paper. You can purchase it for $5- with an order of $75- or more.
Glow of Harvest 12″ x 12″ (30.5 x 30.5 cm) Specialty Designer Series Paper (168598) Celebrate abundance with this beautiful Designer Series Paper. This paper is photo safe, meaning you can add all the pictures you want to your scrapbook projects. But don’t use too many because then you’ll cover the pearlized finish, which adds a lovely shimmer to every page and can enhance the look of all your handmade projects. And this paper offers different patterns for multiple uses: the tighter patterns make great backgrounds while the looser patterns can be fussy cut for detailed centerpieces.
[Read more…] about Product of the Month – AugustWhitchy Wimsy Hat Kit
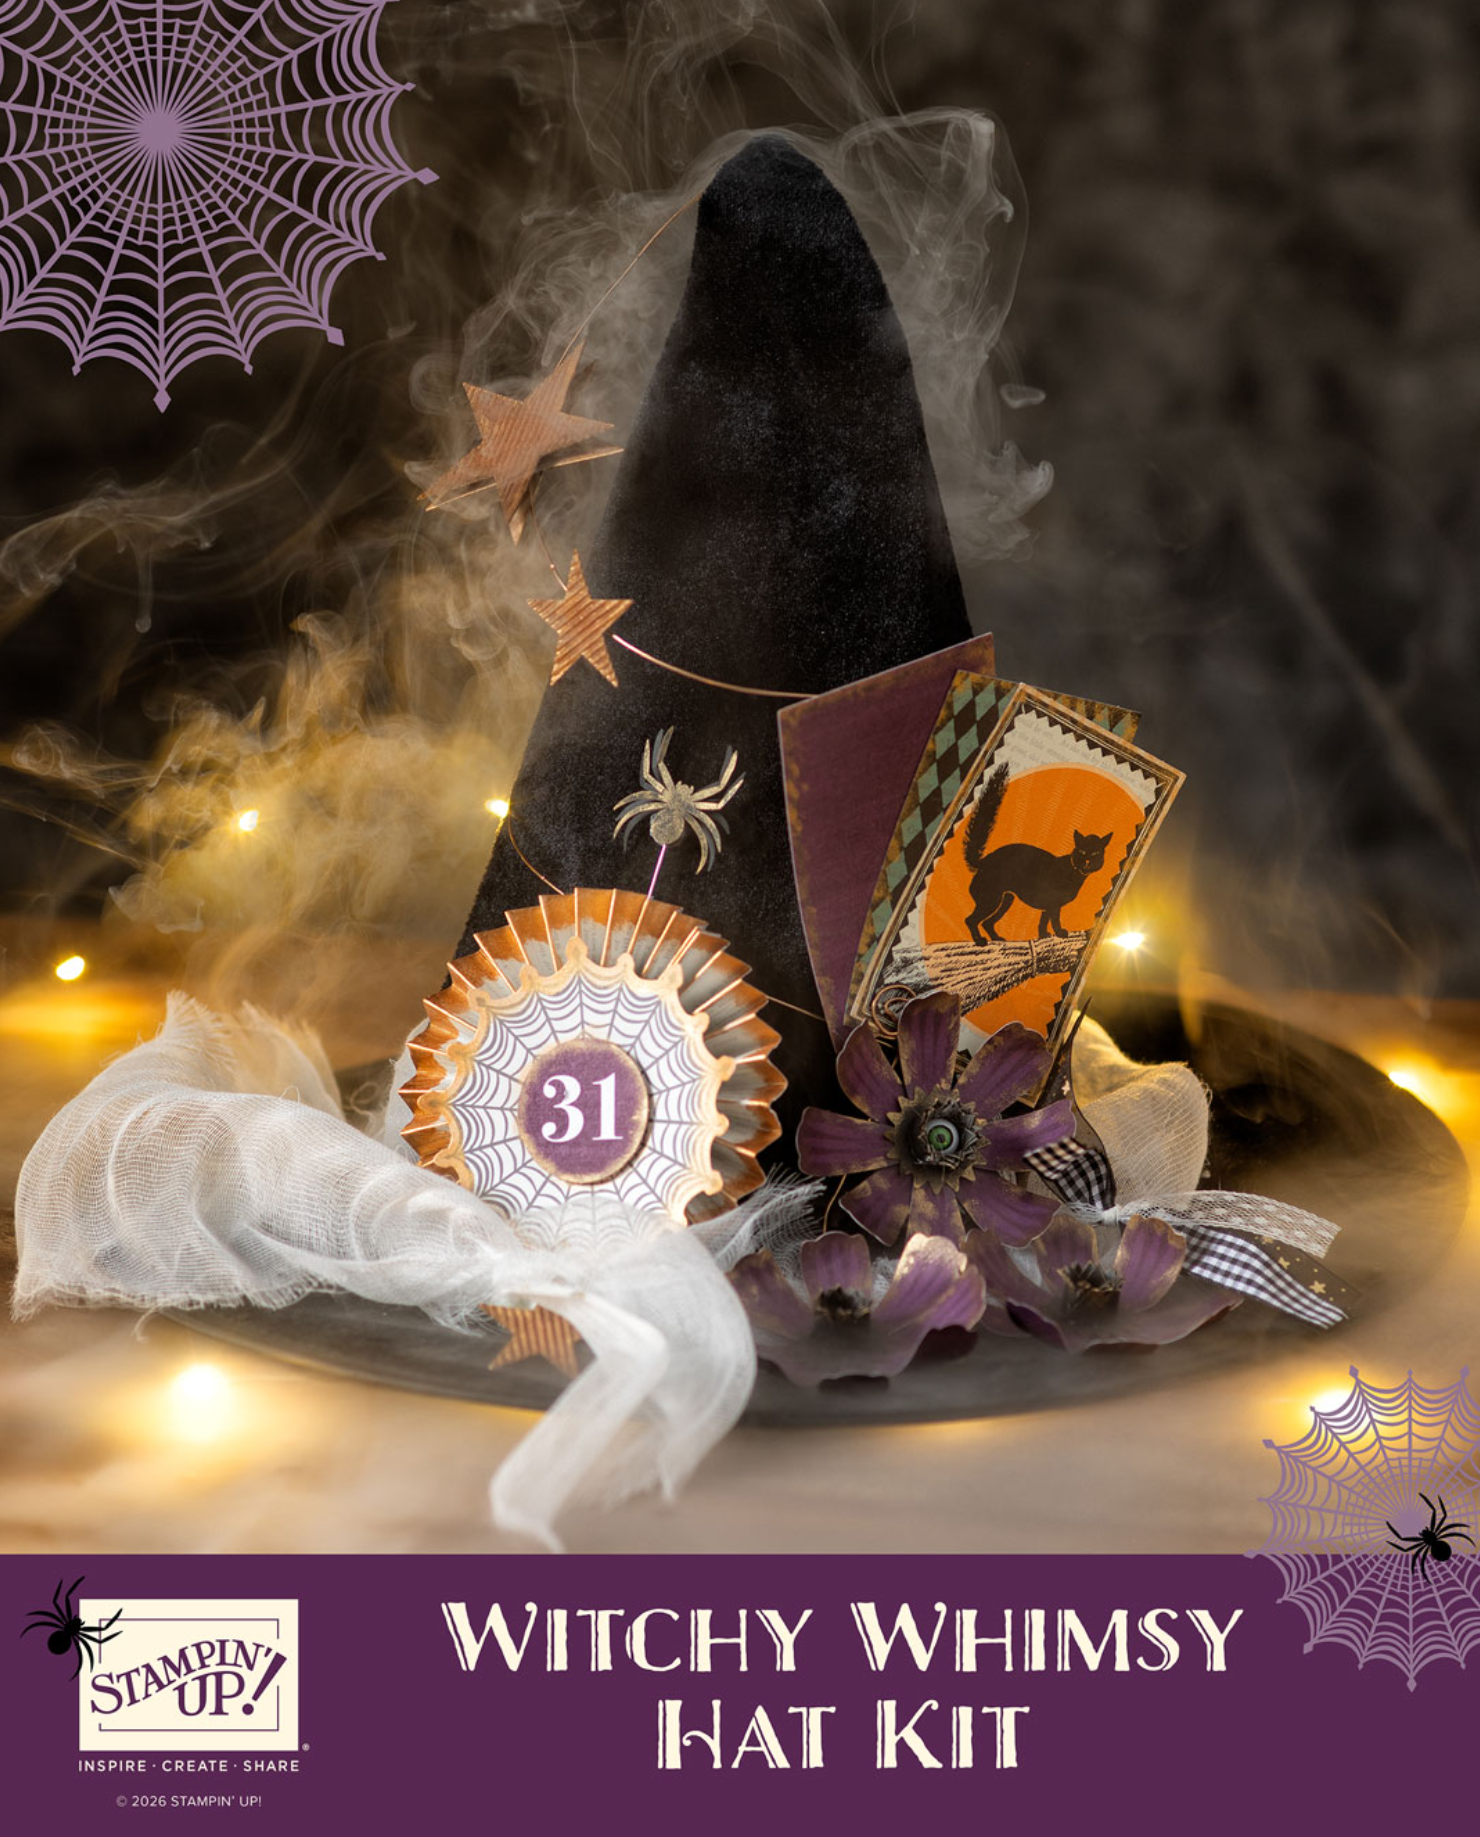
We have a new Witch’s Hat Kit. It caught my eye right away. I love Home Decor products. If you purchase this kit, I will hold a local class at my home to assemble them. Let’s have fun! I will chose a date in August to get together. Let me know if you would like to come. You can purchase the kit on line and have it shipped to you. Then bring it the day of our class.
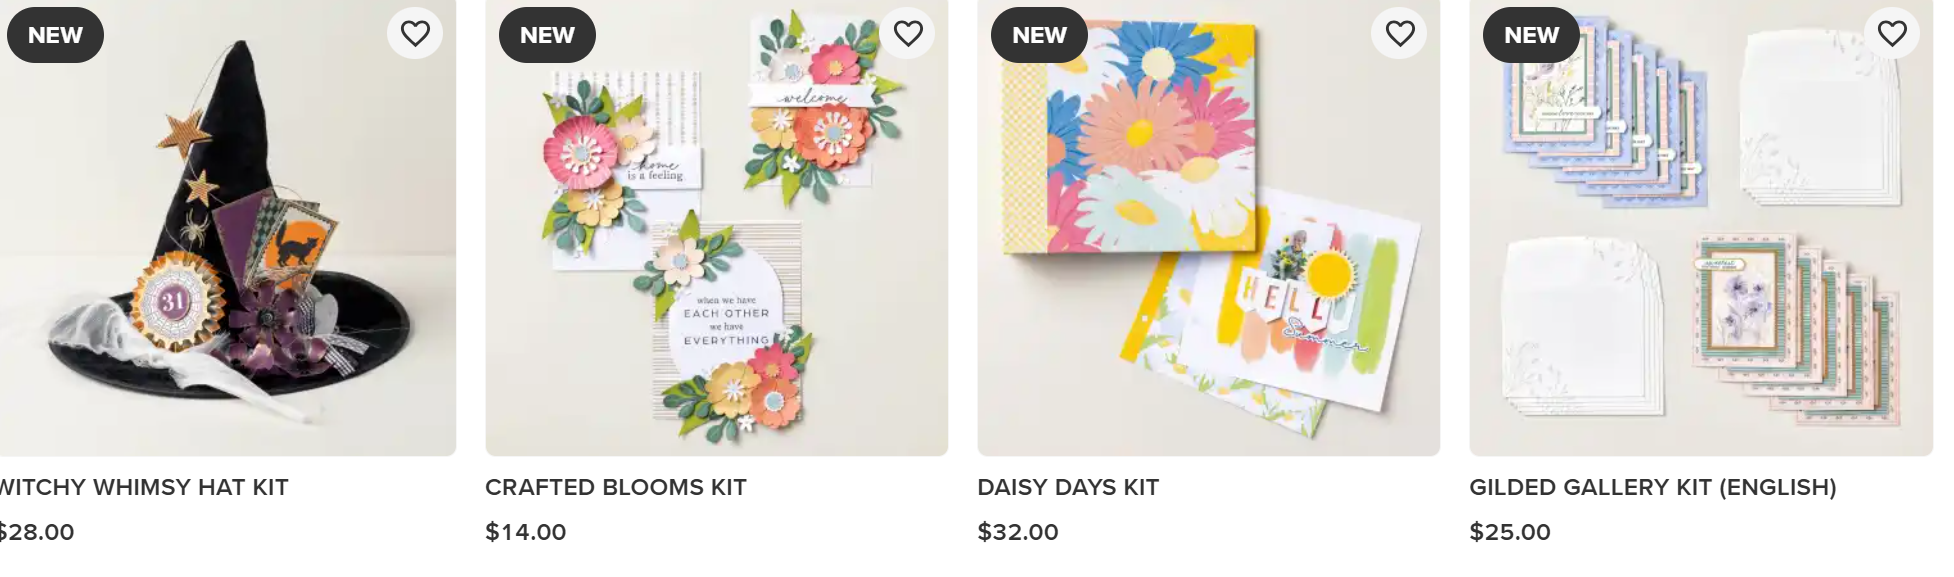
We actually have 4 new kits. Take a look. We also have many more wonderful kits for you to try.
You can view the kits HERE.
Oh My Fright Card with a Joy Fold
Hi Stampers,
I have a new Fun Fold Card for you today called a Joy Fold. I will be using the new Oh My Fright stamps.#168169.
You can also get matching dies and save 10-% by purchasing the bundle of stamps and dies.
Here’s a look.
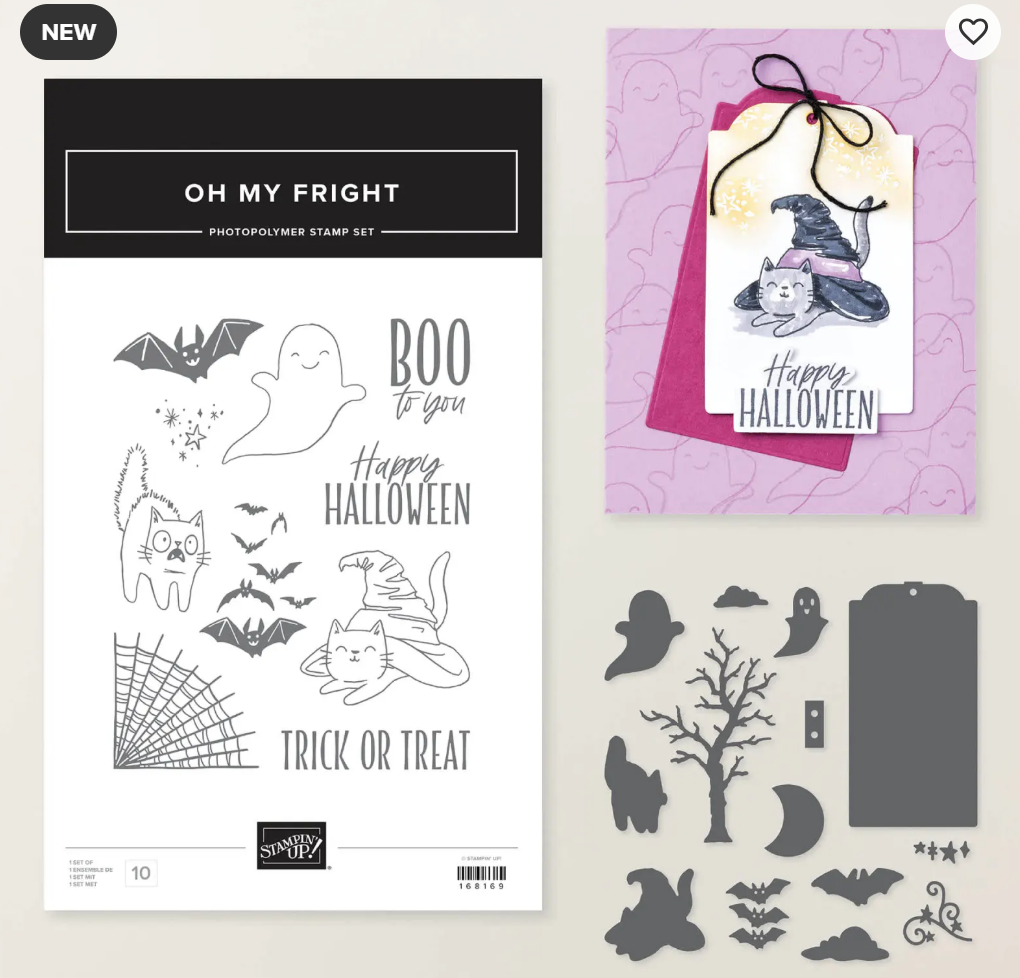
ITEM #168176 $47.50
The dies have even more cute ghosts, a moon, swirls, a tag and a haunted tree. I will show you a tag in another newsletter. You can see how the tag was made into a card here.
[Read more…] about Oh My Fright Card with a Joy Fold